Fun and easy DIY decor projects to transform your home on a budget
Introduction
If you want to refresh your living space without spending a fortune, simple DIY decor projects can deliver big impact. This article walks you through practical, fun, and achievable ideas that require minimal tools and modest budgets. You will learn how to plan smart purchases, update walls and storage, breathe new life into furniture, and layer finishing touches that improve comfort and style. Each section builds on the previous one so you can move from a clear plan to completed rooms. Expect step-by-step tips, material lists, and realistic time and cost estimates to help you pick projects that match your skill level and schedule.
Planning and sourcing on a budget
Before starting any project, make a short plan. Decide which room needs the most attention, what vibe you want, and how much time and money you can invest. A targeted plan prevents impulse buys and wasted effort.
Steps to plan:
- Measure the room and take photos to reference when shopping.
- Create a simple mood board using photos or a free app to define colors and materials.
- Set a firm budget per project, not just a vague limit.
- Prioritize projects that deliver visual impact: walls, textiles, and focal furniture pieces.
- Schedule work into small blocks so you can finish projects without stress.
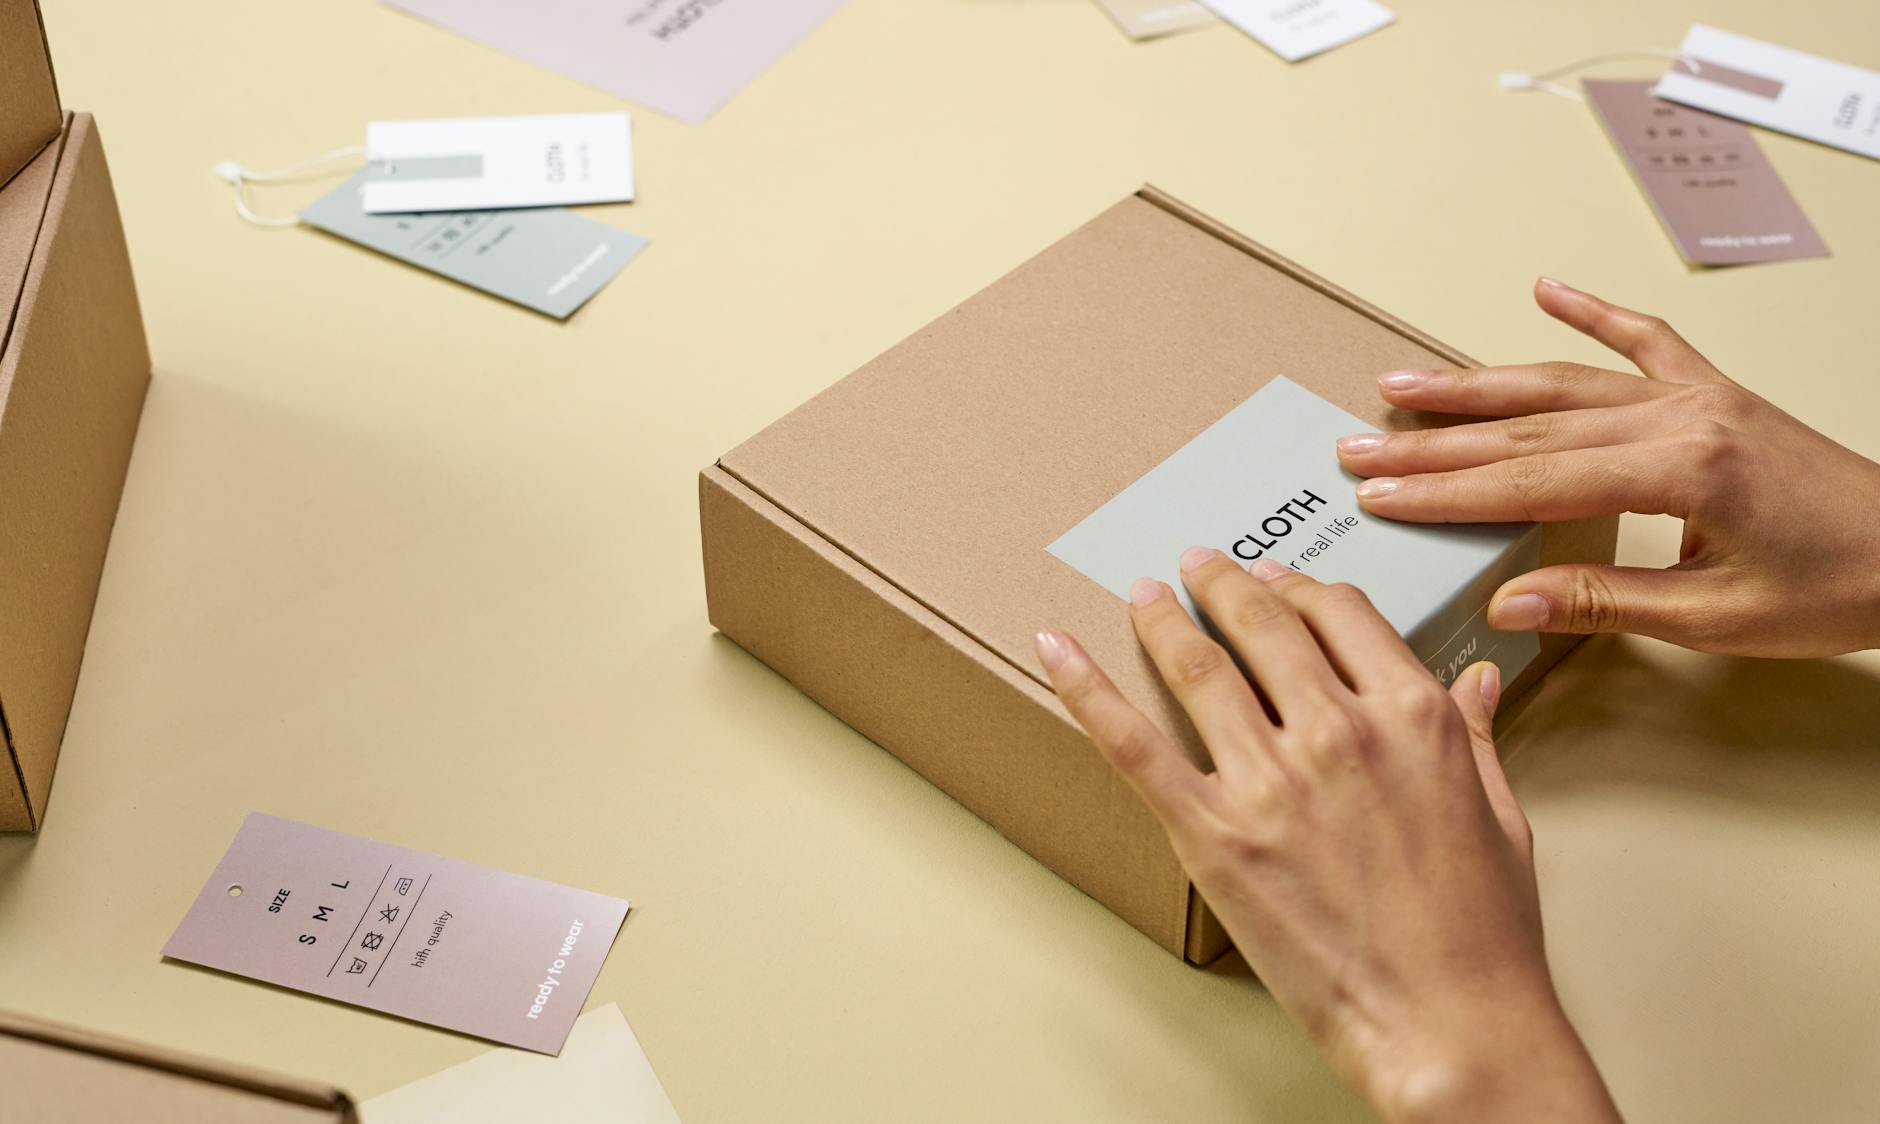
Sourcing tips
- Check thrift stores, estate sales, and online marketplaces for furniture that can be upcycled.
- Buy neutral basics (paint, brushes, hinge hardware) in bulk and reuse them across projects.
- Use discount codes and clearance racks for decor accents like pillows and frames.
- Repurpose items you already own—old scarves become pillow covers, jars become vases.
| Project | Estimated cost | Time | Difficulty |
|---|---|---|---|
| Gallery wall | $20–$80 | 2–4 hours | Easy |
| Painted accent wall | $25–$70 | 3–8 hours | Easy to medium |
| Upcycled side table | $10–$60 | 2–6 hours | Medium |
| DIY planter and macrame hanger | $5–$30 | 1–3 hours | Easy |
Walls and art: quick updates that change everything
Walls take up a large visual area, so small changes there produce outsized results. Start with low-commitment options and advance to bolder moves once you are confident.
Gallery wall
Gather frames in different sizes and create a template on the floor or paper. Use consistent matting or a limited color palette for cohesion. For hanging, use removable hooks if you rent, or measure and level carefully for nails.
- Materials: frames, photos or prints, paper to mock layout, hanging hardware.
- Tip: mix in a mirror or small shelf to add depth and utility.
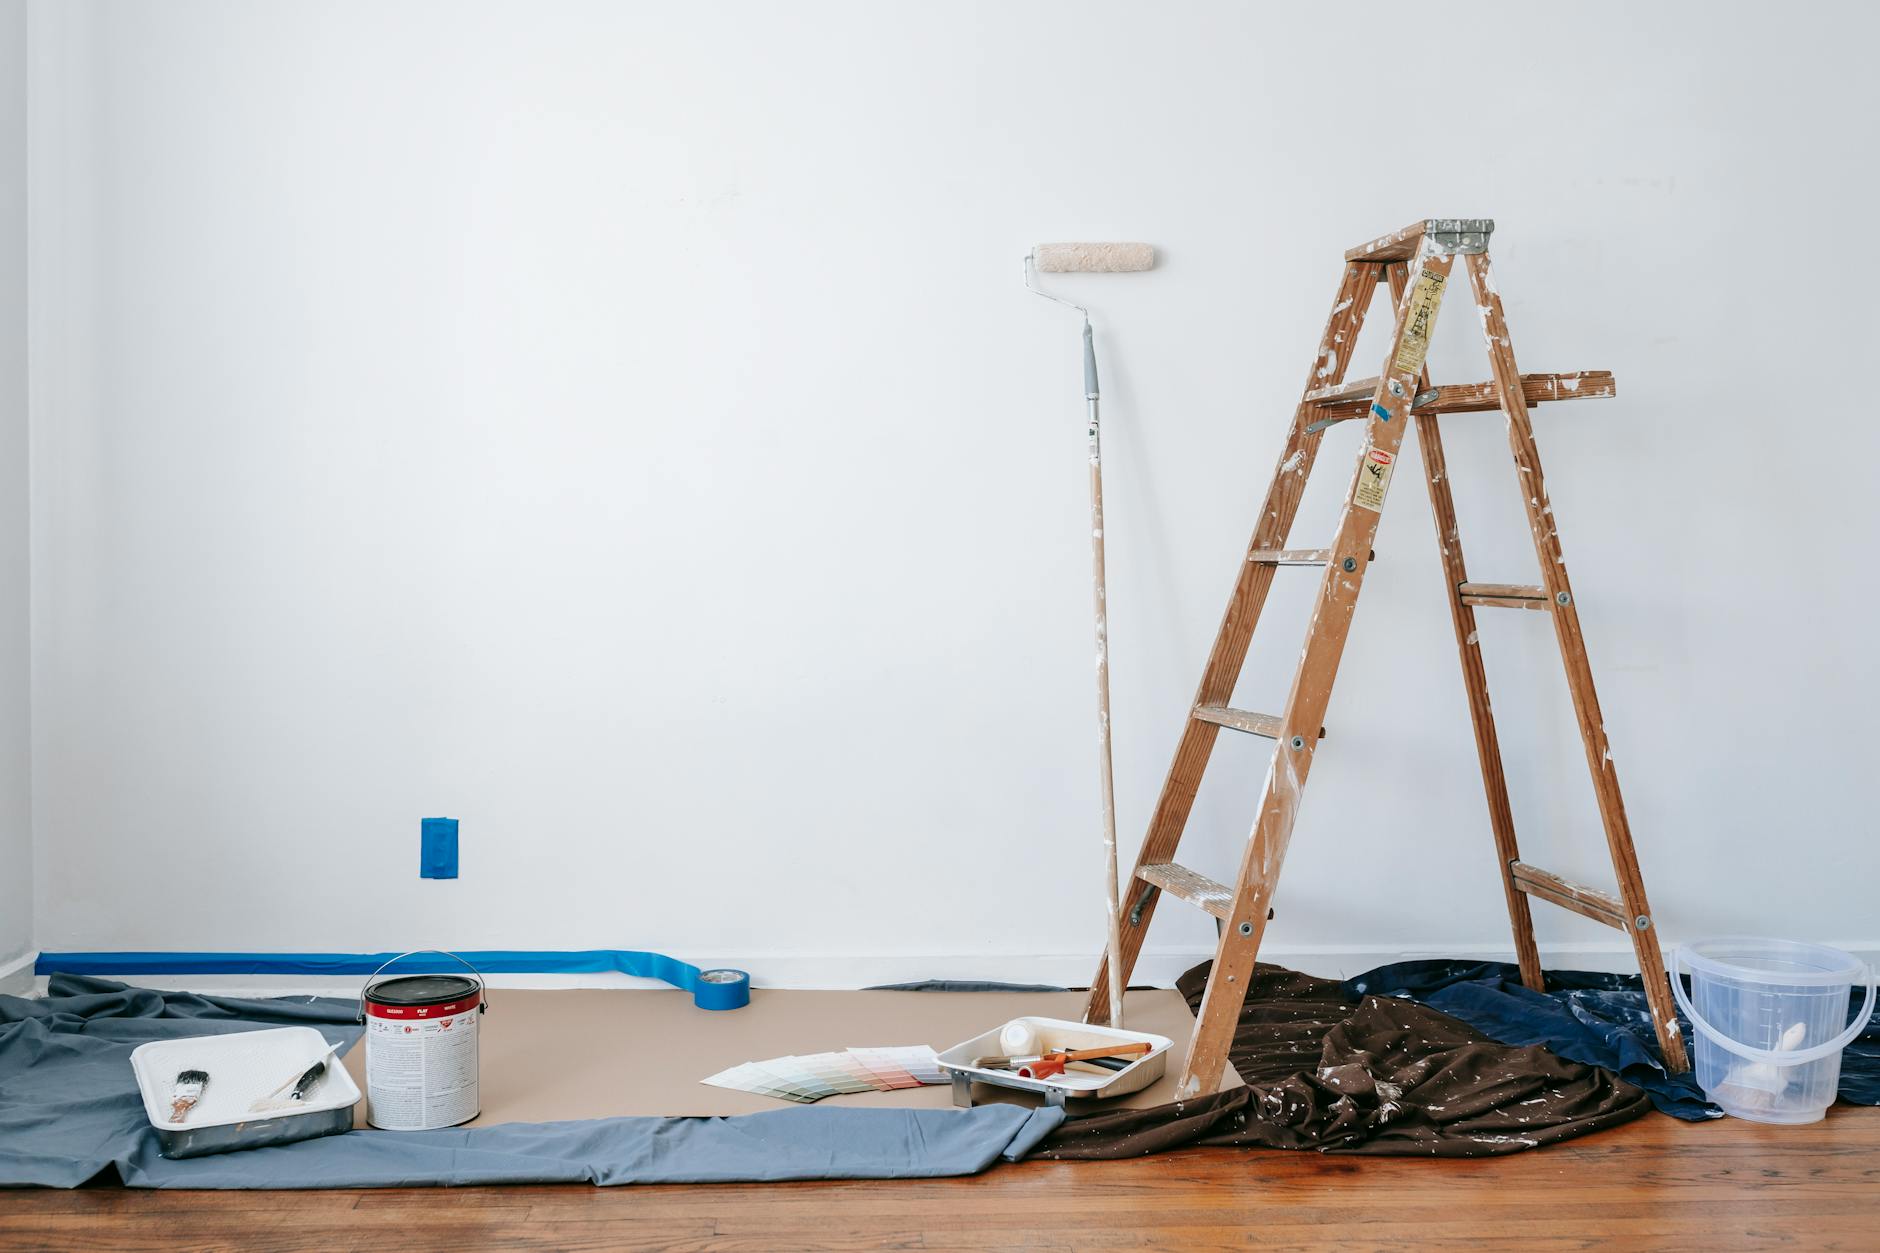
Accent paint and stencils
Painting one wall in a rich color or using a stencil pattern will add character without repainting the whole room. Use painter’s tape and a small roller for crisp edges. Two coats of quality paint usually suffice.
- Materials: paint, roller, tape, drop cloth, stencil (optional).
- Tip: sample paint on poster board to test in different lights before committing.
Furniture and textiles: upcycle, reupholster, and refresh
Once walls are set, address the furniture and textiles that define comfort and style. Upcycling is cost-effective and eco-friendly. Each small update should complement your wall choices to keep the look cohesive.
Simple furniture revamp
Sand and repaint wooden tables or cabinets. Replace knobs and pulls with affordable hardware to change the style instantly. For deeper transformations, use a wood stain or paint with a glaze for a vintage look.
- Materials: sandpaper, paint or stain, brushes, new hardware.
- Steps: clean, sand, prime if needed, paint/stain, and install hardware.
Textile upgrades
Swapping pillow covers, adding a throw, or sewing simple curtains adjusts texture and color. If you don’t sew, no-sew hem tape works for curtains and table runners. Choose fabrics that coordinate with your accent wall and overall mood board.
- Materials: fabric, pillow inserts, hem tape, curtain rods.
- Tip: keep a neutral base and rotate colorful accents seasonally to stay fresh on a budget.
Ambiance boosters: lighting, greenery, and styling finishes
Final touches make a space feel intentional. Lighting, plants, and small decor items bring warmth and personality, and they connect directly with the room planning and furniture choices you made earlier.
Lighting
Layer light sources: overhead, task, and accent. Swap harsh bulbs for warm LED bulbs and use dimmers where possible. DIY options include string lights in glass bottles or simple pendant fixtures from a thrifted lamp base.
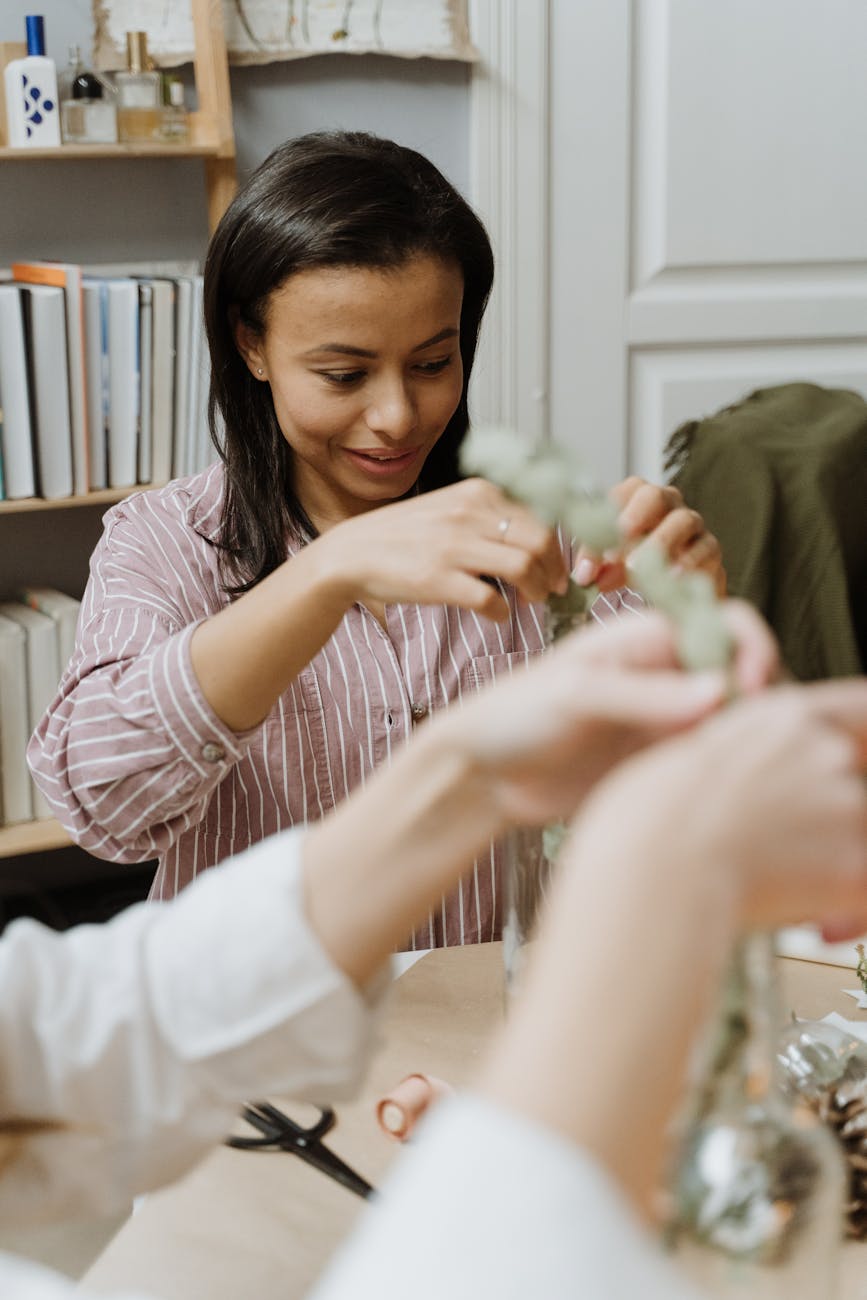
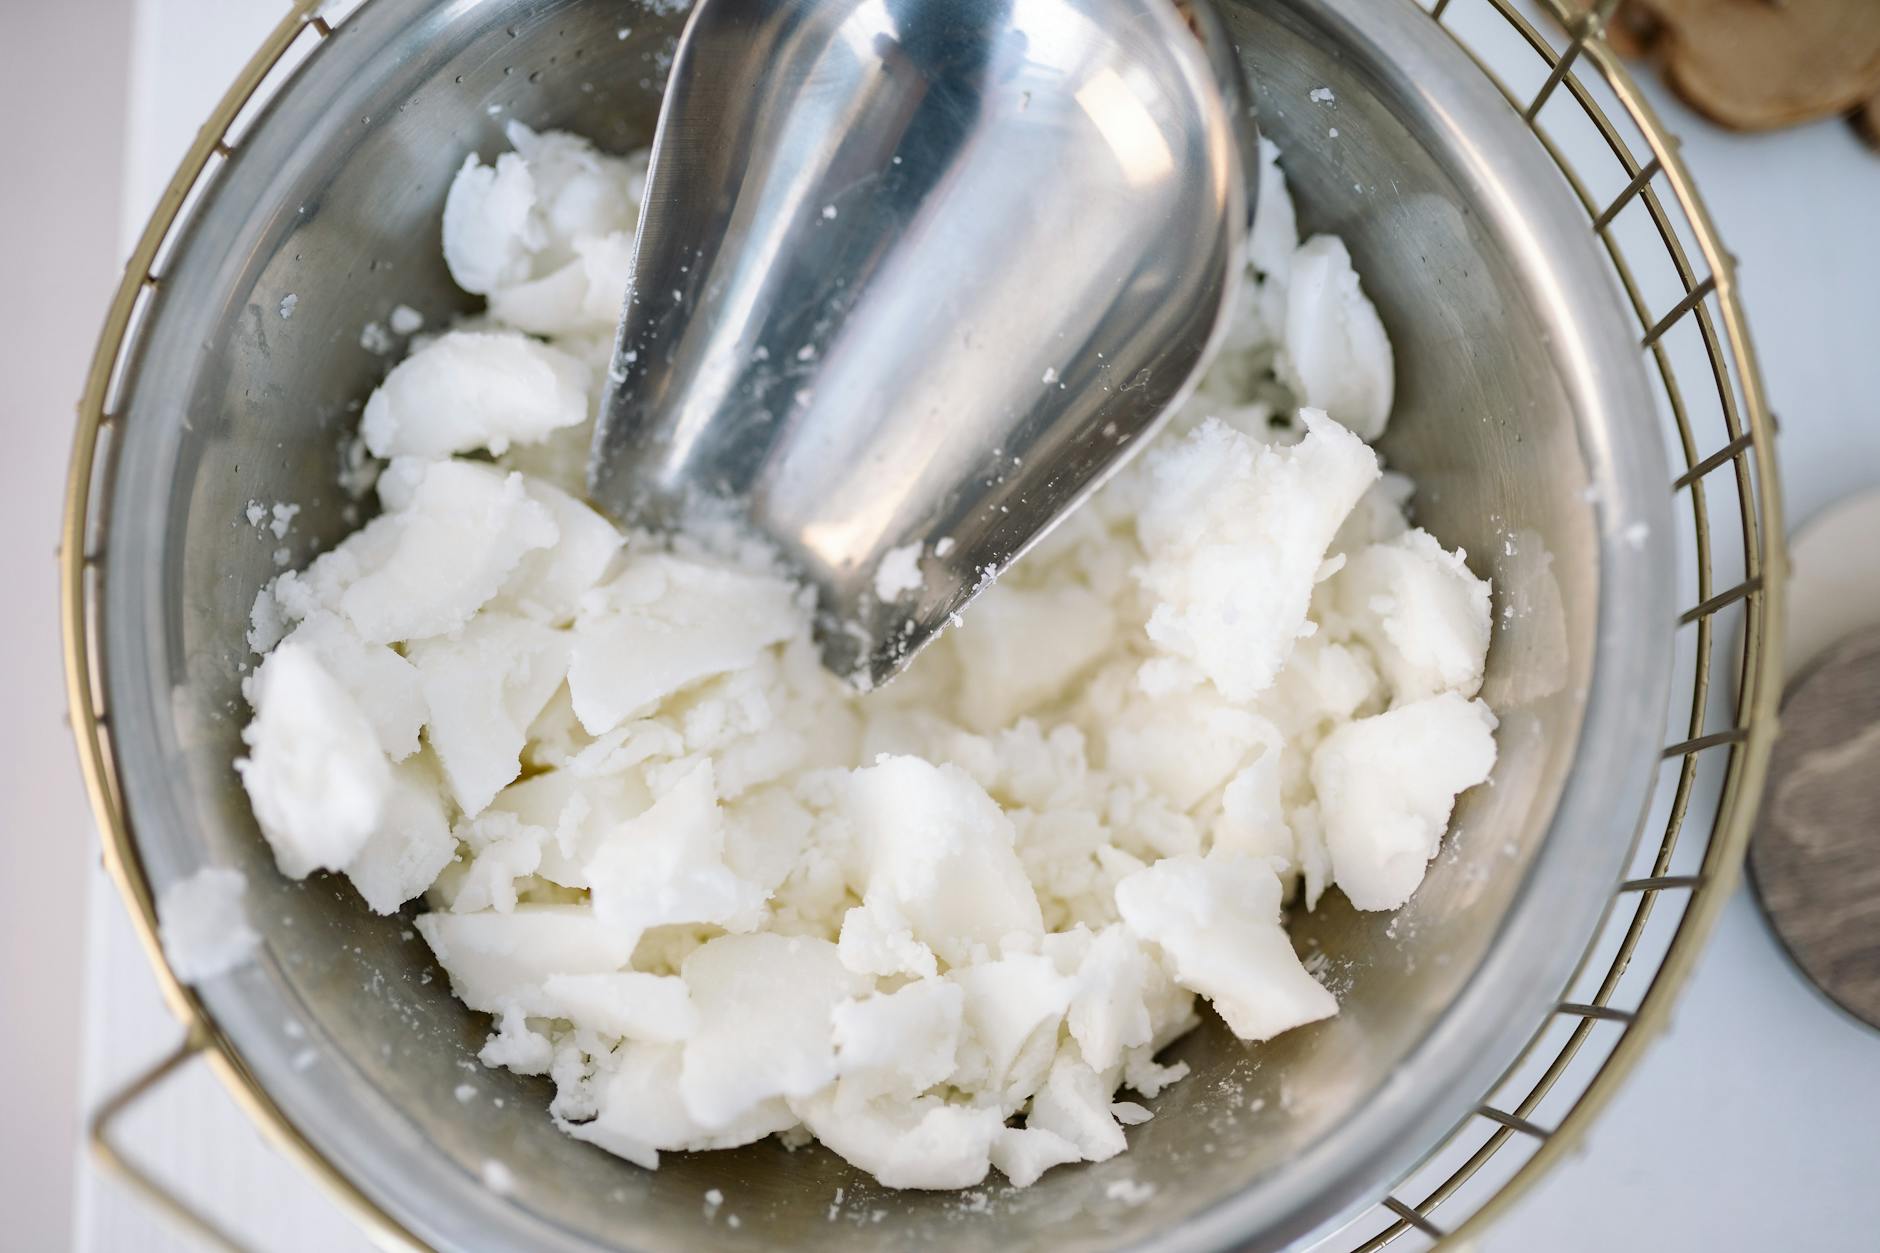
Greenery and scent
Add low-maintenance plants like pothos, snake plant, or succulents to improve air quality and mood. DIY planters—painted terracotta, wrapped jars, or macrame hangers—tie into your color scheme. Use candles or reed diffusers with subtle scents to complete the atmosphere.
Styling and maintenance
- Group objects in odd numbers for visual interest. Vary heights and textures.
- Keep a small toolkit handy so small repairs and swaps are easy.
- Rotate decor seasonally to keep the space feeling new without major expense.
Quick project checklist
- Measure and choose paint or fabric samples.
- Gather tools and set aside a few uninterrupted hours.
- Start with one wall or one furniture piece to build confidence.
- Finish with plants, lighting, and curated accessories.
Conclusion
Small, focused DIY decor projects can dramatically transform your home while keeping costs low. Start with a simple plan and budget, then tackle walls and art to set the mood. Move on to furniture and textile updates that reinforce your chosen colors and textures, and finish with lighting, plants, and styling that make the space inviting. Using thrift finds, upcycling techniques, and a few practical tools lets you personalize every room without professional help. With these steps, you can refresh a room in a weekend or phase improvements over time. Pick one project, follow the checklist, and enjoy a noticeably more stylish and comfortable home.
Image by: Yan Krukau
https://www.pexels.com/@yankrukov