Introduction
Small space DIY decor hacks: Easy projects to maximize style in tiny rooms is more than a catchy phrase — it is a practical approach to living well when square footage is limited. This article walks you through proven, low-cost, and easy-to-execute DIY ideas that make rooms feel larger, cleaner, and more stylish without professional help. You will learn how to plan a flexible layout, use vertical and reflective elements to open sightlines, create custom storage and multi-use furniture, and finish with personal touches that tie the look together. Each section includes step-by-step suggestions, material lists, and realistic time and cost expectations so you can pick projects that fit your schedule and skill level.
Plan a flexible layout
Before drilling, painting, or buying anything, plan how the room will be used. In tiny rooms, flexibility is essential: a living area can be a workspace by day and a guest space by night. Start by measuring the room and mapping a simple floor plan on paper or a free app. Identify traffic paths, natural light sources, and vertical wall space.
- Zoning: Use rugs, lighting, and furniture placement to create zones without adding walls. A narrow rug can anchor a seating area while a different texture defines a workspace.
- Scale down: Opt for compact furniture with exposed legs so floor space reads as larger. Consider armless chairs and shallow-depth sofas.
- Multi-use pieces: Choose items that serve two functions, such as a storage ottoman that doubles as seating or a fold-down desk that becomes dining space.
Planning saves money and prevents clutter. Sketch three layout options and choose the one that leaves at least a 30-inch clear path in main walkways.
Use vertical and reflective tricks
Visual openness comes from manipulating sightlines. Two low-cost, high-impact strategies are making the ceiling and walls read taller and adding reflective surfaces to bounce light.
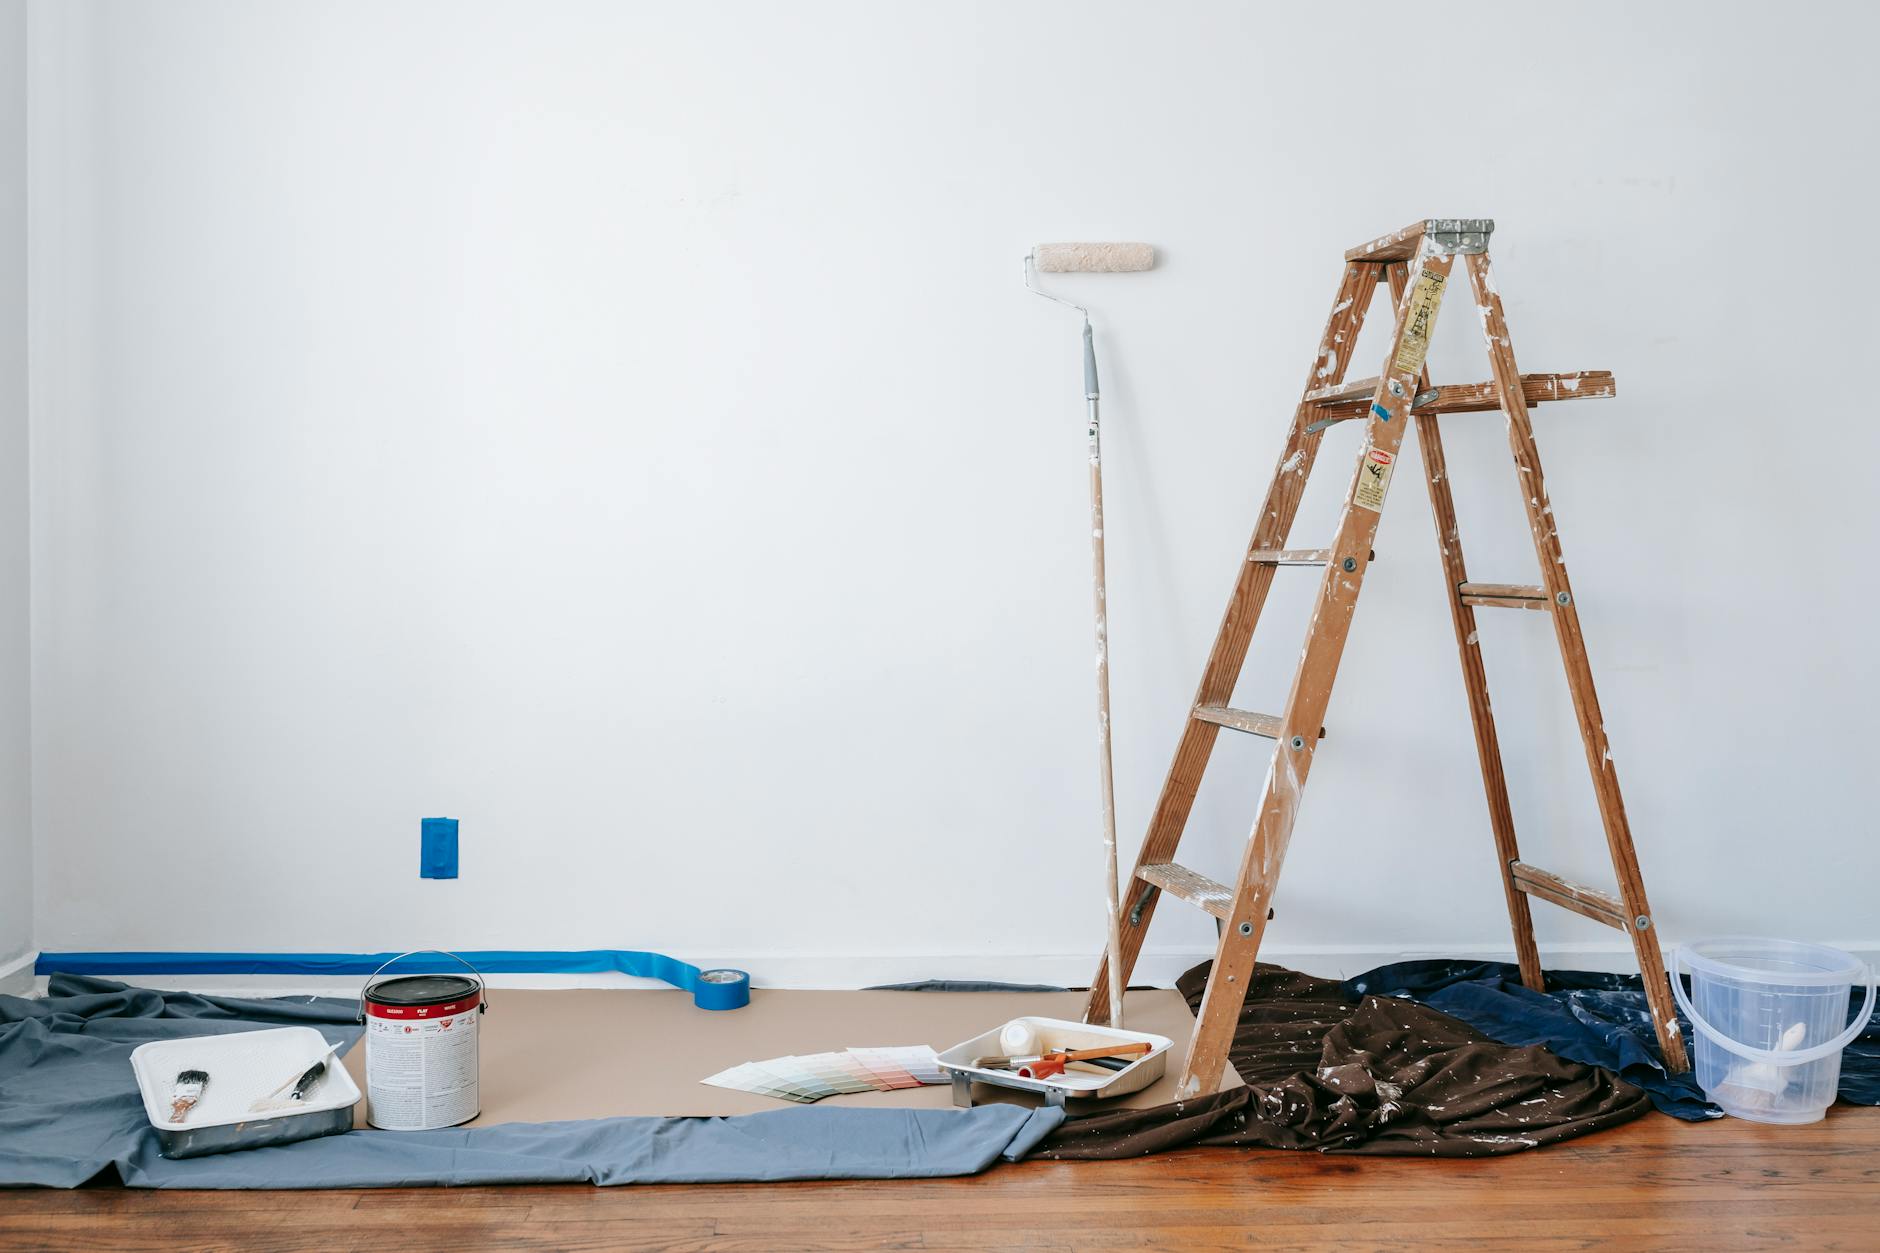
- Vertical lines: Paint a stripe of a slightly lighter tone on the wall or use vertical wallpaper to draw the eye upward. Alternatively, mount tall, narrow shelving to emphasize height.
- Ceiling treatment: A bright white or a subtle gloss on the ceiling makes it feel higher. If painting the ceiling is not possible, lean thin, tall mirrors to mimic higher space.
- Mirrors and glass: Place mirrors opposite windows to double natural light. Use glass-topped tables or lucite chairs to maintain sightlines through the room.
These tricks are quick: a mirror installation or a vertical stripe DIY can take 1-3 hours and costs range from very low to moderate depending on materials.
Smart storage and convertible furniture
Effective storage removes visual clutter — the biggest contributor to a cramped feel. Emphasize built or easily reversible storage solutions that fit your life and lease terms.
- Floating shelves: Install staggered floating shelves above eye level for books and decor. Keep heavier and frequently used items below to avoid strain.
- Under-bed and under-sofa storage: Use slim rolling bins or DIY drawer systems that slide under furniture to store seasonal items, linens, or paperwork.
- DIY convertible furniture: Build a simple fold-down wall desk from a single plywood sheet and hinges. Add a cleat or folded bracket for support. Another weekend project is converting a narrow console into a drop-leaf dining table with brackets.
Materials for these projects are typically plywood, brackets, screws, paint, and drawer sliders. Many hacks require only basic tools: drill, level, stud finder, and sander. Prioritize mounting into studs for heavier items.
Personalize with budget-friendly finishes
After solving layout and storage, finish with texture and color choices that reflect your style while maintaining openness.
- Selective color: Use an accent color on one wall or in textiles to create depth without overwhelming the room. Stick with a cohesive palette of 2-3 tones.
- Layered lighting: Combine ambient, task, and accent lighting. Wall-mounted sconces free up floor space. LED strip lighting under shelves adds warmth and definition.
- Scale and texture: Introduce a couple of tactile elements such as a woven throw, a small indoor plant, or metallic decorative objects to add interest without clutter.
Personal touches are what turn functional hacks into a comfortable, stylish room. Swap items seasonally to keep the space fresh without major changes.
Quick reference: DIY hacks at a glance
| Hack | Time | Estimated cost | Skill level | Visual impact |
|---|---|---|---|---|
| Floating shelves | 2-4 hours | $20-80 | Beginner | High – reduces clutter |
| Vertical paint stripe | 1-3 hours | $10-50 | Beginner | Medium – adds height |
| Fold-down wall desk | 4-8 hours | $40-150 | Intermediate | High – adds function |
| Under-furniture drawers | 1-3 hours | $10-60 | Beginner | High – hides clutter |
| Mirror opposite window | 1 hour | $15-200 | Beginner | High – increases light |
Conclusion
Small space DIY decor hacks are about thoughtful planning and targeted interventions. Start by mapping how you use the room and choose multi-function furniture to keep the layout flexible. Maximize vertical space and light with tall lines, mirrors, and bright ceilings to create a feeling of openness. Implement smart storage solutions like floating shelves, under-bed drawers, and simple fold-down furniture to eliminate clutter while adding useable surface area. Finish with a consistent color palette, layered lighting, and a few textured accents to make the room feel intentional and lived-in. With modest time and budget, these projects combine to maximize style and comfort in tiny rooms while letting your personality shine through.
Image by: RDNE Stock project
https://www.pexels.com/@rdne