Beginner-friendly DIY decor ideas for quick and stylish room makeovers
Introduction
Refreshing a room doesn’t require a big budget or a weekend of chaos. This guide shows practical, beginner-friendly DIY decor ideas that deliver fast, stylish results. You’ll learn how to plan a simple makeover, tackle walls and floors for immediate impact, choose furniture and focal pieces that transform the space, and finish with styling touches that tie everything together. Each section includes clear steps, tools and materials that are easy to source, and honest estimates of time and cost so you can pick projects that fit your schedule. Whether you rent or own, these tips prioritize low-commitment updates that look intentional and cohesive, helping you achieve a polished room without hiring professionals.
Prep and planning
Start by defining what “stylish” means for you: a mood board, a saved-photo collage, or a few Pinterest pins will help. Assess the room’s strengths—natural light, built-in storage, floor quality—and decide on one primary goal, for example: create a calming bedroom, a functional home office, or a warm living room. Good planning prevents wasted effort.
- Measure and map. Note wall lengths, window placement and traffic flow. A quick sketch helps avoid scale mistakes.
- Choose a focal point. Pick the element that anchors the room, such as a bed, sofa, desk or mantel, then plan updates around it.
- Create a simple palette. Limit to two base neutrals and one or two accent colors to keep things cohesive.
- Gather tools and materials. Basic supplies: paint, roller, painter’s tape, adhesive hooks, command strips, basic hand tools, drop cloths and fabric glue. Most are inexpensive and reusable.
These planning steps connect directly to the hands-on changes below so every decision supports the final look.
Quick wall and floor updates
Walls and floors set the visual foundation. Small changes here yield big returns and are approachable for beginners.
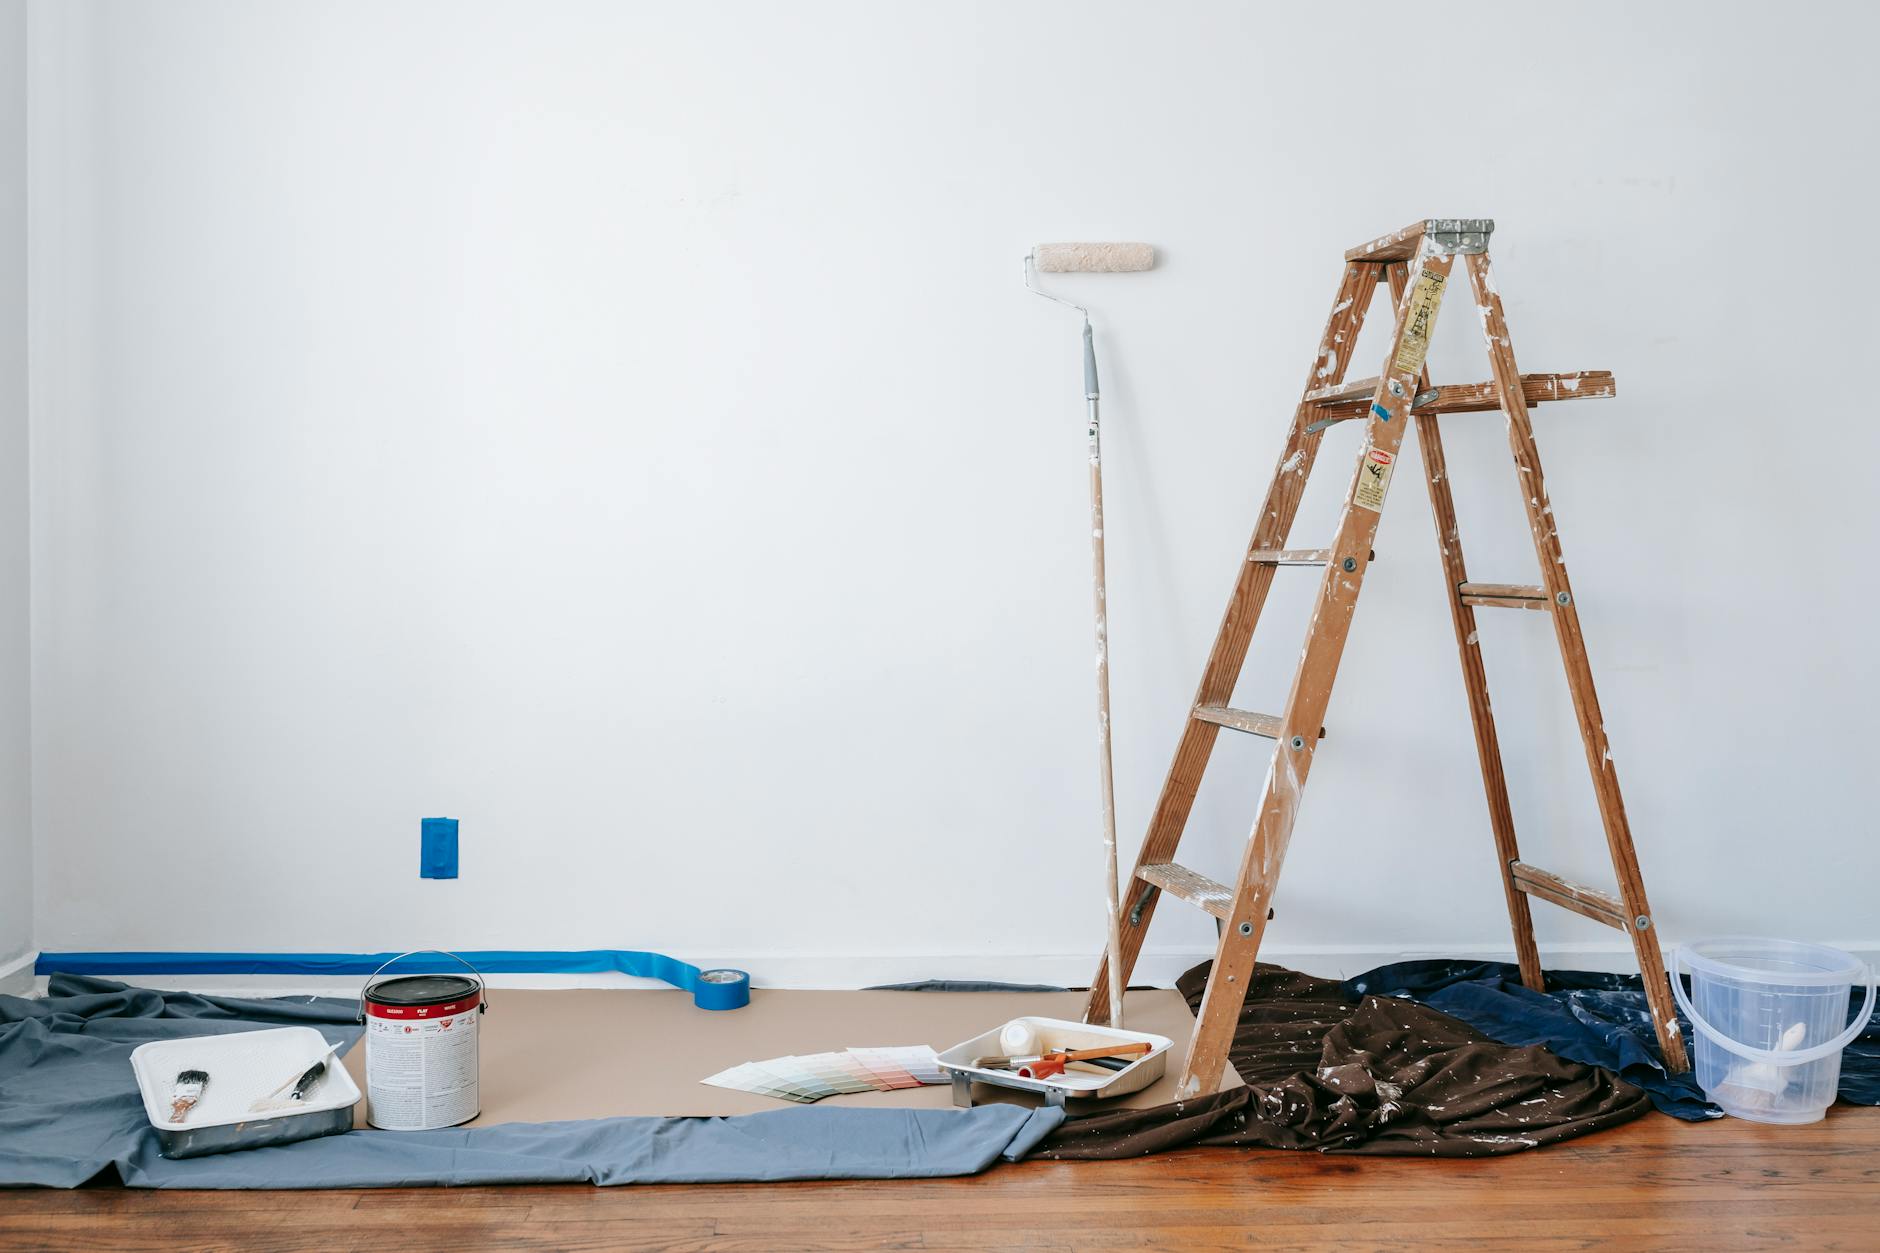
- Paint smart. One accent wall or a fresh coat on all walls instantly refreshes a room. Use sample pots to test colors in different light. For less commitment, try removable wallpaper or peel-and-stick tiles for a patterned accent.
- Stick-on moulding. Adhesive trim or picture rails add architectural interest with minimal installation. Paint them the same color as the wall for a subtle effect or a contrasting color for drama.
- Floor updates. Layer area rugs to define zones and hide worn flooring. For rentals, consider large peel-and-stick vinyl planks that look like wood and install without glue.
- Art and gallery walls. Create a balanced gallery using templates (paper outlines) to map placement. Use a level and command strips to avoid wall damage.
These choices are linked to furniture decisions—paint and rugs help determine upholstery and decor colors for a cohesive result.
Furniture and focal pieces
Choose or update a few key pieces to change the room’s function and feel. You don’t need a full redesign—strategic swaps and DIY upgrades go a long way.
- Refinish and reupholster. Sand and paint dated furniture for a modern finish, or replace cushions and fabric on chairs. This is cheaper than buying new and allows you to match the palette.
- Scale and placement. Arrange furniture to improve flow: float a sofa away from the wall to create a cozy conversation area, or angle a chair to take advantage of light. Small rooms benefit from mirrored or glass surfaces that reduce visual weight.
- Multipurpose pieces. Use storage benches, nesting tables, and floating shelves to add function without clutter. In tight spaces, fold-down desks or wall-mounted nightstands maximize utility.
- Statement lighting. Swap a dated fixture for a pendant or chandelier, or update lampshades. Lighting changes mood and appears high-end for a modest spend.
Furniture updates reinforce the room’s color story and ensure your styling picks look intentional rather than layered on.
Styling and finishing touches
Styling turns functional decor into a finished room. These details are inexpensive but essential to a pulled-together look.
- Textiles. Layer throw pillows, blankets and curtains in different textures that share your chosen palette. Use a mix of scales—one large pattern, one medium, one small—to keep interest without chaos.
- Greenery and natural touches. Plants add color, life and air quality benefits. Use low-maintenance varieties like pothos, snake plant or ZZ for beginners.
- Declutter and group. Edit surfaces to three-to-five meaningful items per vignette: a stack of books, a small lamp, and a plant make a balanced bedside table, for example.
- Personal accents. Incorporate framed photos, a meaningful rug, or collectible items to make the room feel lived-in and unique.
Finishing touches are the final link: they harmonize paint, furniture and function into a cohesive space you’ll enjoy.
Budget, time and difficulty at a glance
| Project | Estimated time | Typical cost | Beginner difficulty |
|---|---|---|---|
| Accent wall paint | 3–6 hours | $20–$80 | Easy |
| Peel-and-stick flooring | 1–2 days | $100–$400 | Moderate |
| Furniture repaint or reupholster | 4–12 hours | $30–$200 | Easy to moderate |
| Gallery wall | 1–3 hours | $0–$150 | Easy |
Conclusion
Small, deliberate DIY projects let you achieve fast and stylish room makeovers without a major overhaul. Start with planning and a clear palette, then focus on high-impact areas: walls and floors, key furniture pieces, and finishing touches like lighting, textiles and plants. Use the table above to pick projects by time, cost and difficulty. Layering these efforts—fresh paint or removable wallpaper, a refreshed sofa or rug, and cohesive styling—creates a coordinated look that feels intentional. With basic tools and modest investment you can transform a space in hours or over a weekend, making your room more functional and visually appealing while reflecting your personal style.
Image by: Blue Bird
https://www.pexels.com/@blue-bird